


After nearly ten years in my home, my coat closet was a hard-working yet neglected space. It was filled to the brim with shoes and coats and various other things tossed in over the years. It got to the point where you had to shield yourself when opening the door in case anything fell on you, then cross your fingers you would even be able to find anything in the pile.
Finally, I decided enough was enough, and it was time to refresh the space to be a door I wanted to open.
Here’s the (embarrassing) before:

So much randomness! Yes, there are coats and shoes, but also party supplies from 2010, an unopened Uno game, and various other miscellaneous junk.
And here’s the after:

I no longer have to hold my breath when I open the door!
This was a simple project that now has me wanting to clean out and update every closet in my house.
I’ll talk through the steps and share all my sources at the end!
Prepping and Paint
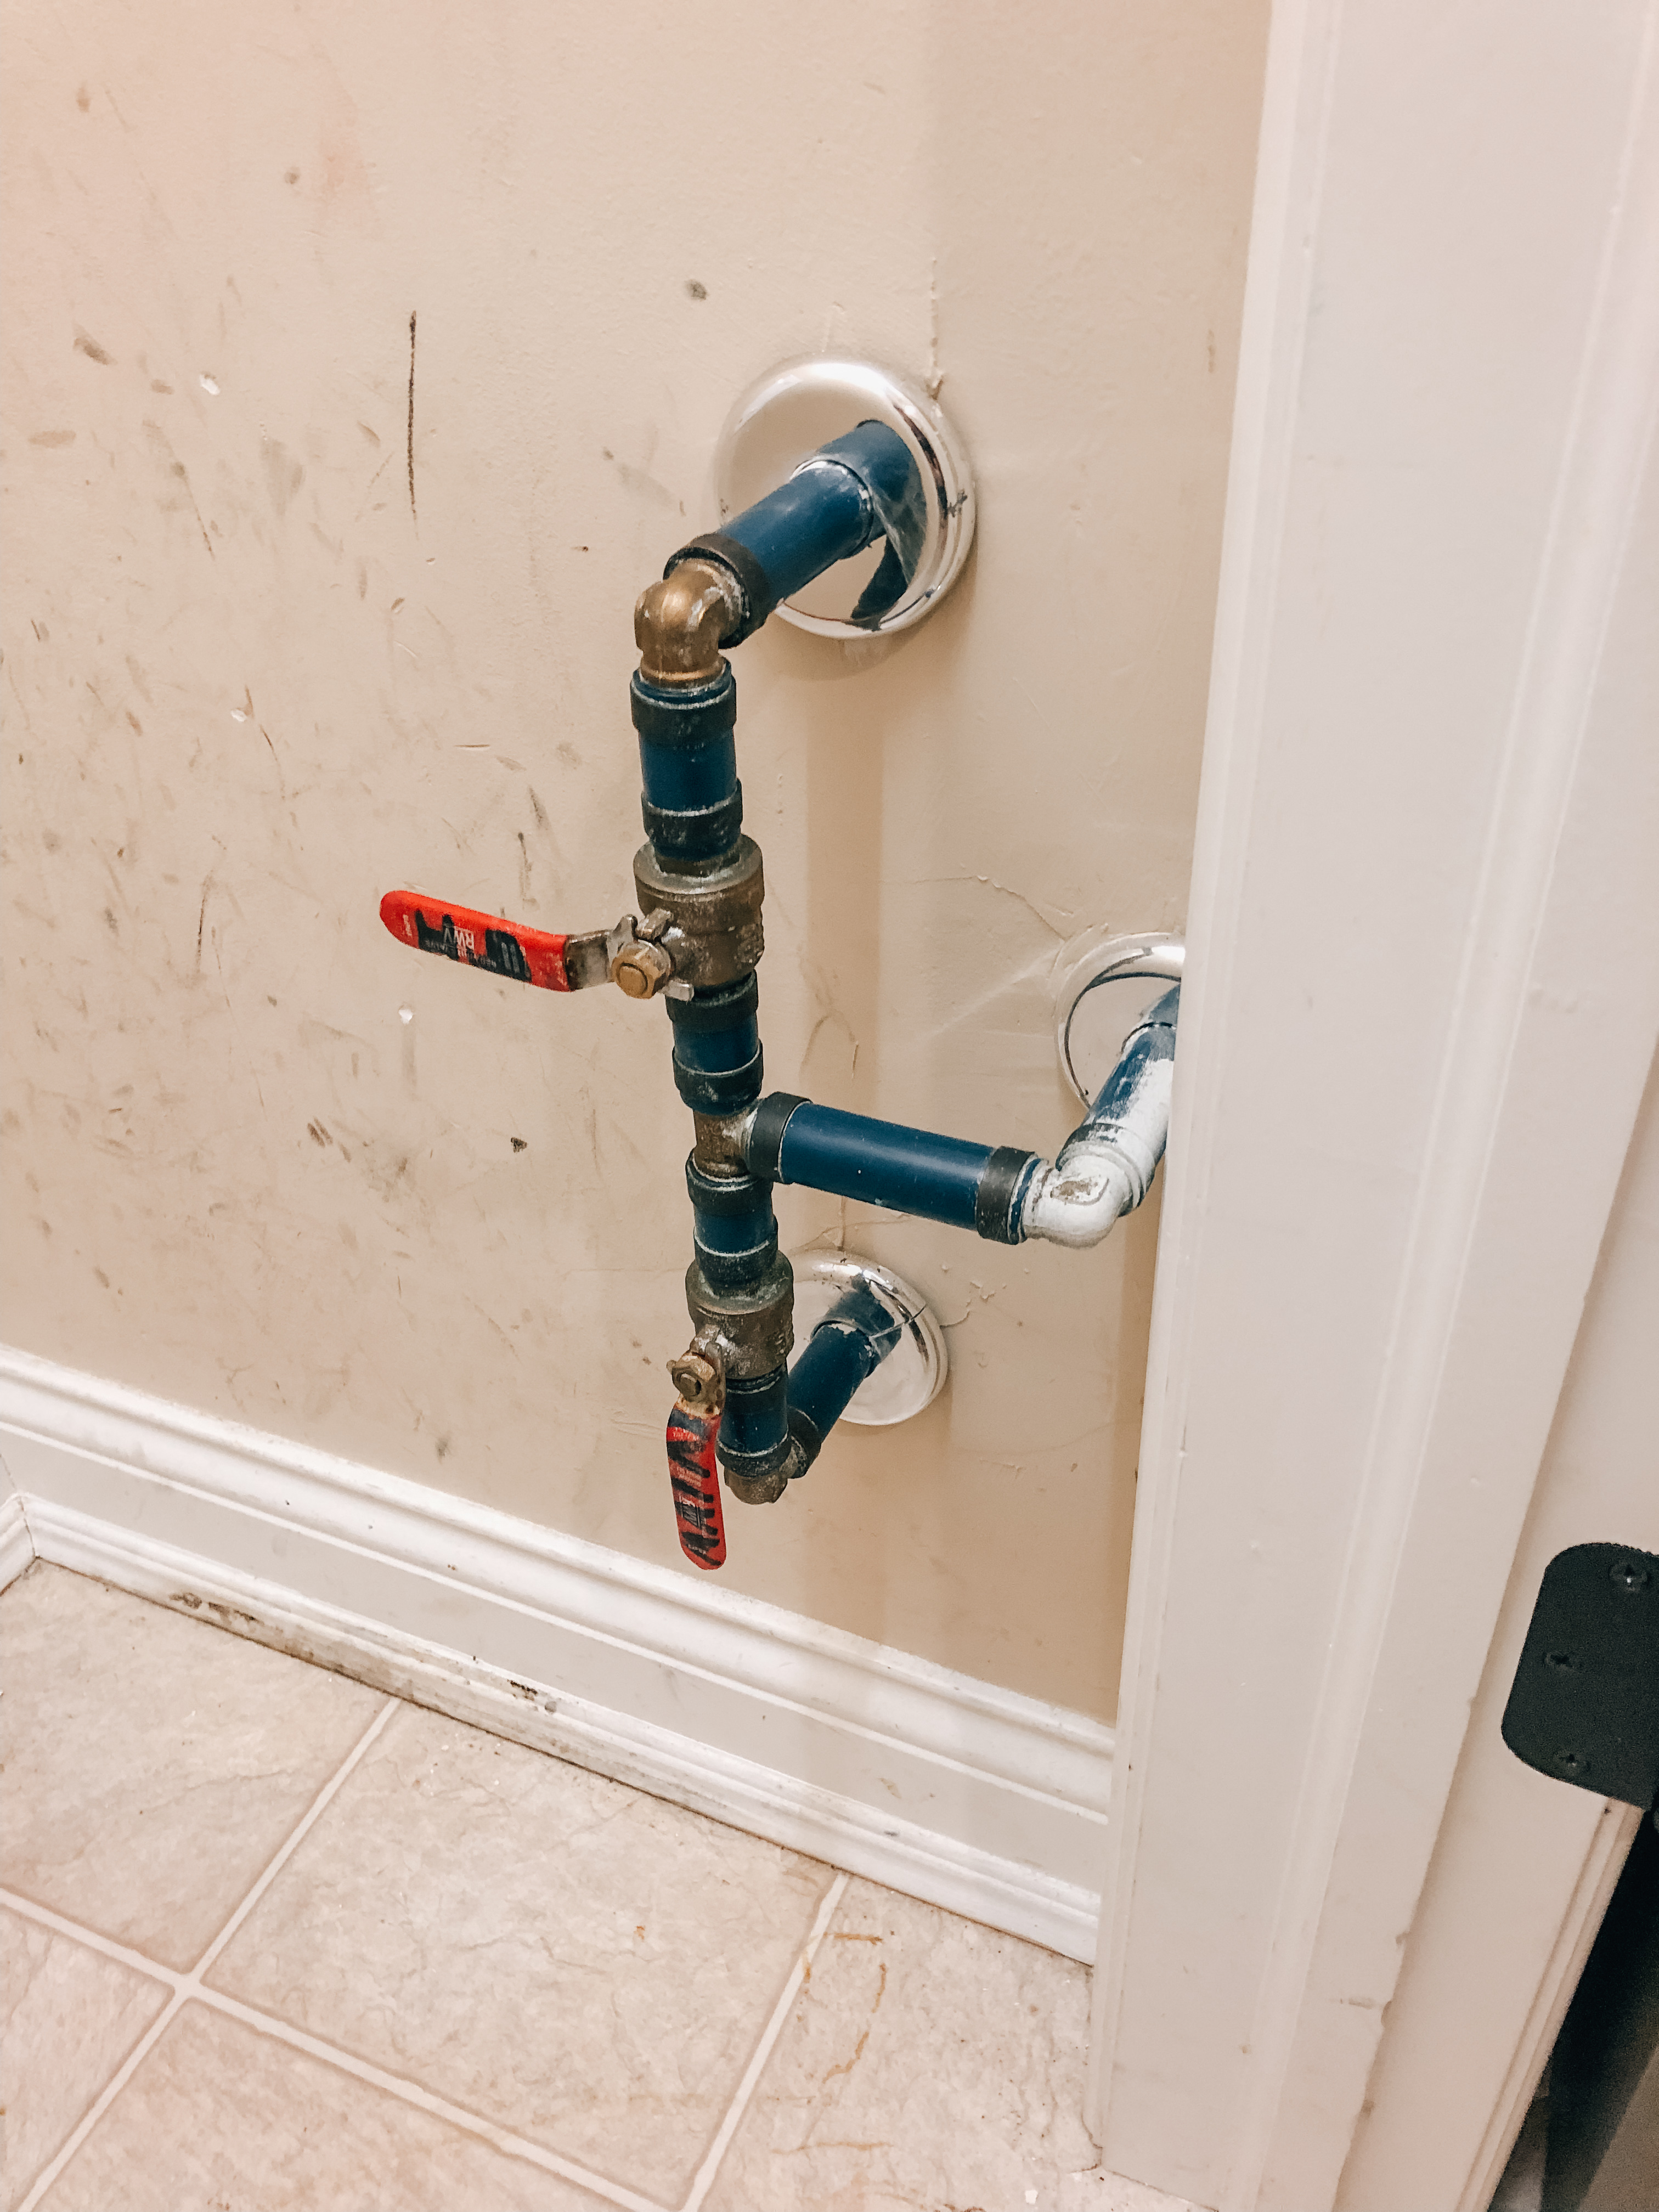
I cleaned out the closet, removed the wire shelf, and got rid of stuff we didn’t need anymore. I decided the best way to hide the little cabinet in the wall for some of my cable and electrical hookups and my water pipes was to paint everything white.


Then I set up my laser level and got to work planning out my shelves.
Custom Shelving
Custom shelves are pretty simple to do. I decided to do four total, three at the bottom for shoes and one at the top. I also wanted to have a rod to hang coats.
I measured the width of my closet (3 ft) and cut four 1×12 and 1×2 pieces of wood to that width. I also cut a closet rod kit that I found on amazon to this width. In addition, I knew I would need cleats on the wall to hang each shelf, and I made these out of 1×2 scraps sized to about 11 inches. I stained the pieces in Early American and then sprayed them with polyacrylic.
Each shelf consisted of these four pieces: a 1×2 cut to 3 ft, a 1×12 cut to 3 ft, and two 1x2s cut to 11 in to act as the cleats and support the shelves.

The closet rod kit I ordered contained an oak rod and two attachments to support it. I cut the rod to 3ft and spray-painted the attachments white to match the closet.


I attached the 1x2s to the front of the 1x12s with my nail gun to provide a more finished look. Note: This provides a little more than 12 in of depth; you may want to make the shelves deeper if you need that for your shoes.
Next, I put the cleats up in the closet to support the shelves, and I mainly eyeballed the heights I wanted to place them at and then used my laser level to make sure they were even before I screwed them into the studs with wood screws.


If everything is cut correctly, the next step should be placing the shelves on each wall cleat. I also installed the rod to hang coats on.


Coat Closet Finishing Touches
It was time to fill the closet back up! Although a little more intentionally this time.

I knew that once items were on the shelves, the closet would look kind of dark even with the light on. So, I decided to install rechargeable motion-activated LED strip lights underneath each shelf. This adds a nice touch of convenience and a little bit of luxury. As soon as I open the door, the motion lights turn on. Here’s a side by side with and without lights.


And of the shoes with the lights off/lights on. With the new strip lights, I don’t have to flip the overhead switch on anymore unless I really want to light up the closet.


I installed the lights under each shelf, and they have a rechargeable and programmable sensor at the end that allows you to set how long the lights stay on once motion is detected. So far, I love them. I’ll see how long it takes before they need their first recharge.

Since I spray painted the pipes white, I used my silhouette cameo to create some vinyl labels so that I could keep them straight. It is a huge improvement.

And that’s it! Here’s one more comparison of the before/after.


Shop this Post

Coat Closet Sources
The links below contain affiliate links to products. We may receive a commission for purchases made through these links.
Items I purchased
- Motion-activated LED lights
- Heavy-duty closet pole
- Rod holder closet pole socket
- Storage bin with lids
- White spray primer for my pipes
- Wood screws
- Early American wood stain
- Polycrylic protective finish
- IKEA hangers
Tools I used
- Laser level
- Miter saw to cut down the wood and rod (you can have Lowes or a hardware store do this for you if you do not have a saw)
- Brad nailer to attach 1×2 to the front of 1x12s (you could use regular nails and a hammer if you do not have a brad nailer)


Can you share the dimensions of how high the rod is and each shelf in relation to the closet?
What kind of wood did you use?
Hi there! I used pine.
Do you still like the led lights
I do! I even used them again in my pantry because I am such a fan.
[…] used the same process when I created the shelves for my coat closet. The bottom two shelves are 14.5 inches deep and cut out of 3/4 inch plywood, while the rest of the […]
[…] DESIGNATED SPACE DESIGN . COM […]
[…] Source: Designated room design blog […]
I echo a previous comment. What is the distance/height of each shoe shelf? Thank you!