


I’ve always been a little intimidated to tile anything. I love the way tile looks, but it seemed complicated. Tiling the fireplace surround seemed like the perfect project to tile for the first time.

Fireplace Progress
My fireplace and built-in wall have been quite the process so far! If you’d like to check out some of my posts leading up to this point, here’s what I’ve done:
Selecting the Tile
I wanted a larger-scale marble tile that would look more like a marble slab once it was up. I found some from Lowes that I thought would work great. Bonus: it was less than $1 per tile!

Project Prep
I’ll let you in on a secret: I didn’t use thin-set on the tile. I used Musselbound Tile Membrane instead. I’ve seen a few others use this technique, and I thought I’d give it a try. I wouldn’t use this on a surface that would get wet or on a floor, but it seemed like a good fit for what I needed.

It comes in a roll, and both sides are adhesive; one is for attaching to your surface, and the other is for attaching the tile. You can apply it directly to primed drywall.

I adhered the musselbound to the area around the fireplace and cut it to size with a razor. I pushed it into place as securely as possible with a grout float.
Cutting the Tile
Next, I laid out the tile to get the pattern I wanted before cutting it.

Once I had it set up just the way I wanted, it was time to break out the wet saw! Since this was my first time tiling, I purchased a wet saw just for this project. I anticipate more tiling projects to come in the future, so it seemed like a worthwhile investment.
I decided to go with the Ryobi Wet Saw. I have quite a few Ryobi tools, and I’ve been happy with them.

Based on reviews, I bought a separate blade for the saw and used that instead of the one that came with it. It seemed to work well.

I’m so glad I gave tiling a try because I enjoyed it! Once I got the hang of the wet saw, it wasn’t intimidating. Since this was a larger tile (12×12 inches,) I did have to cut half and then flip over to cut the other half of the tile, which wasn’t a big deal.
Once I had cut all the tile, I laid it out again just as I wanted to put it on the wall.

Placing the Tile
I was finally ready to put the tile in place! This part was pretty simple. I removed the paper from the front of the musselbound and then stuck each tile in place. I pressed them in for about 5 seconds per tile to adhere.

At this point, I was a little worried because it didn’t have that marble slab look I was going for. But it was nothing a little grout and caulk couldn’t fix!

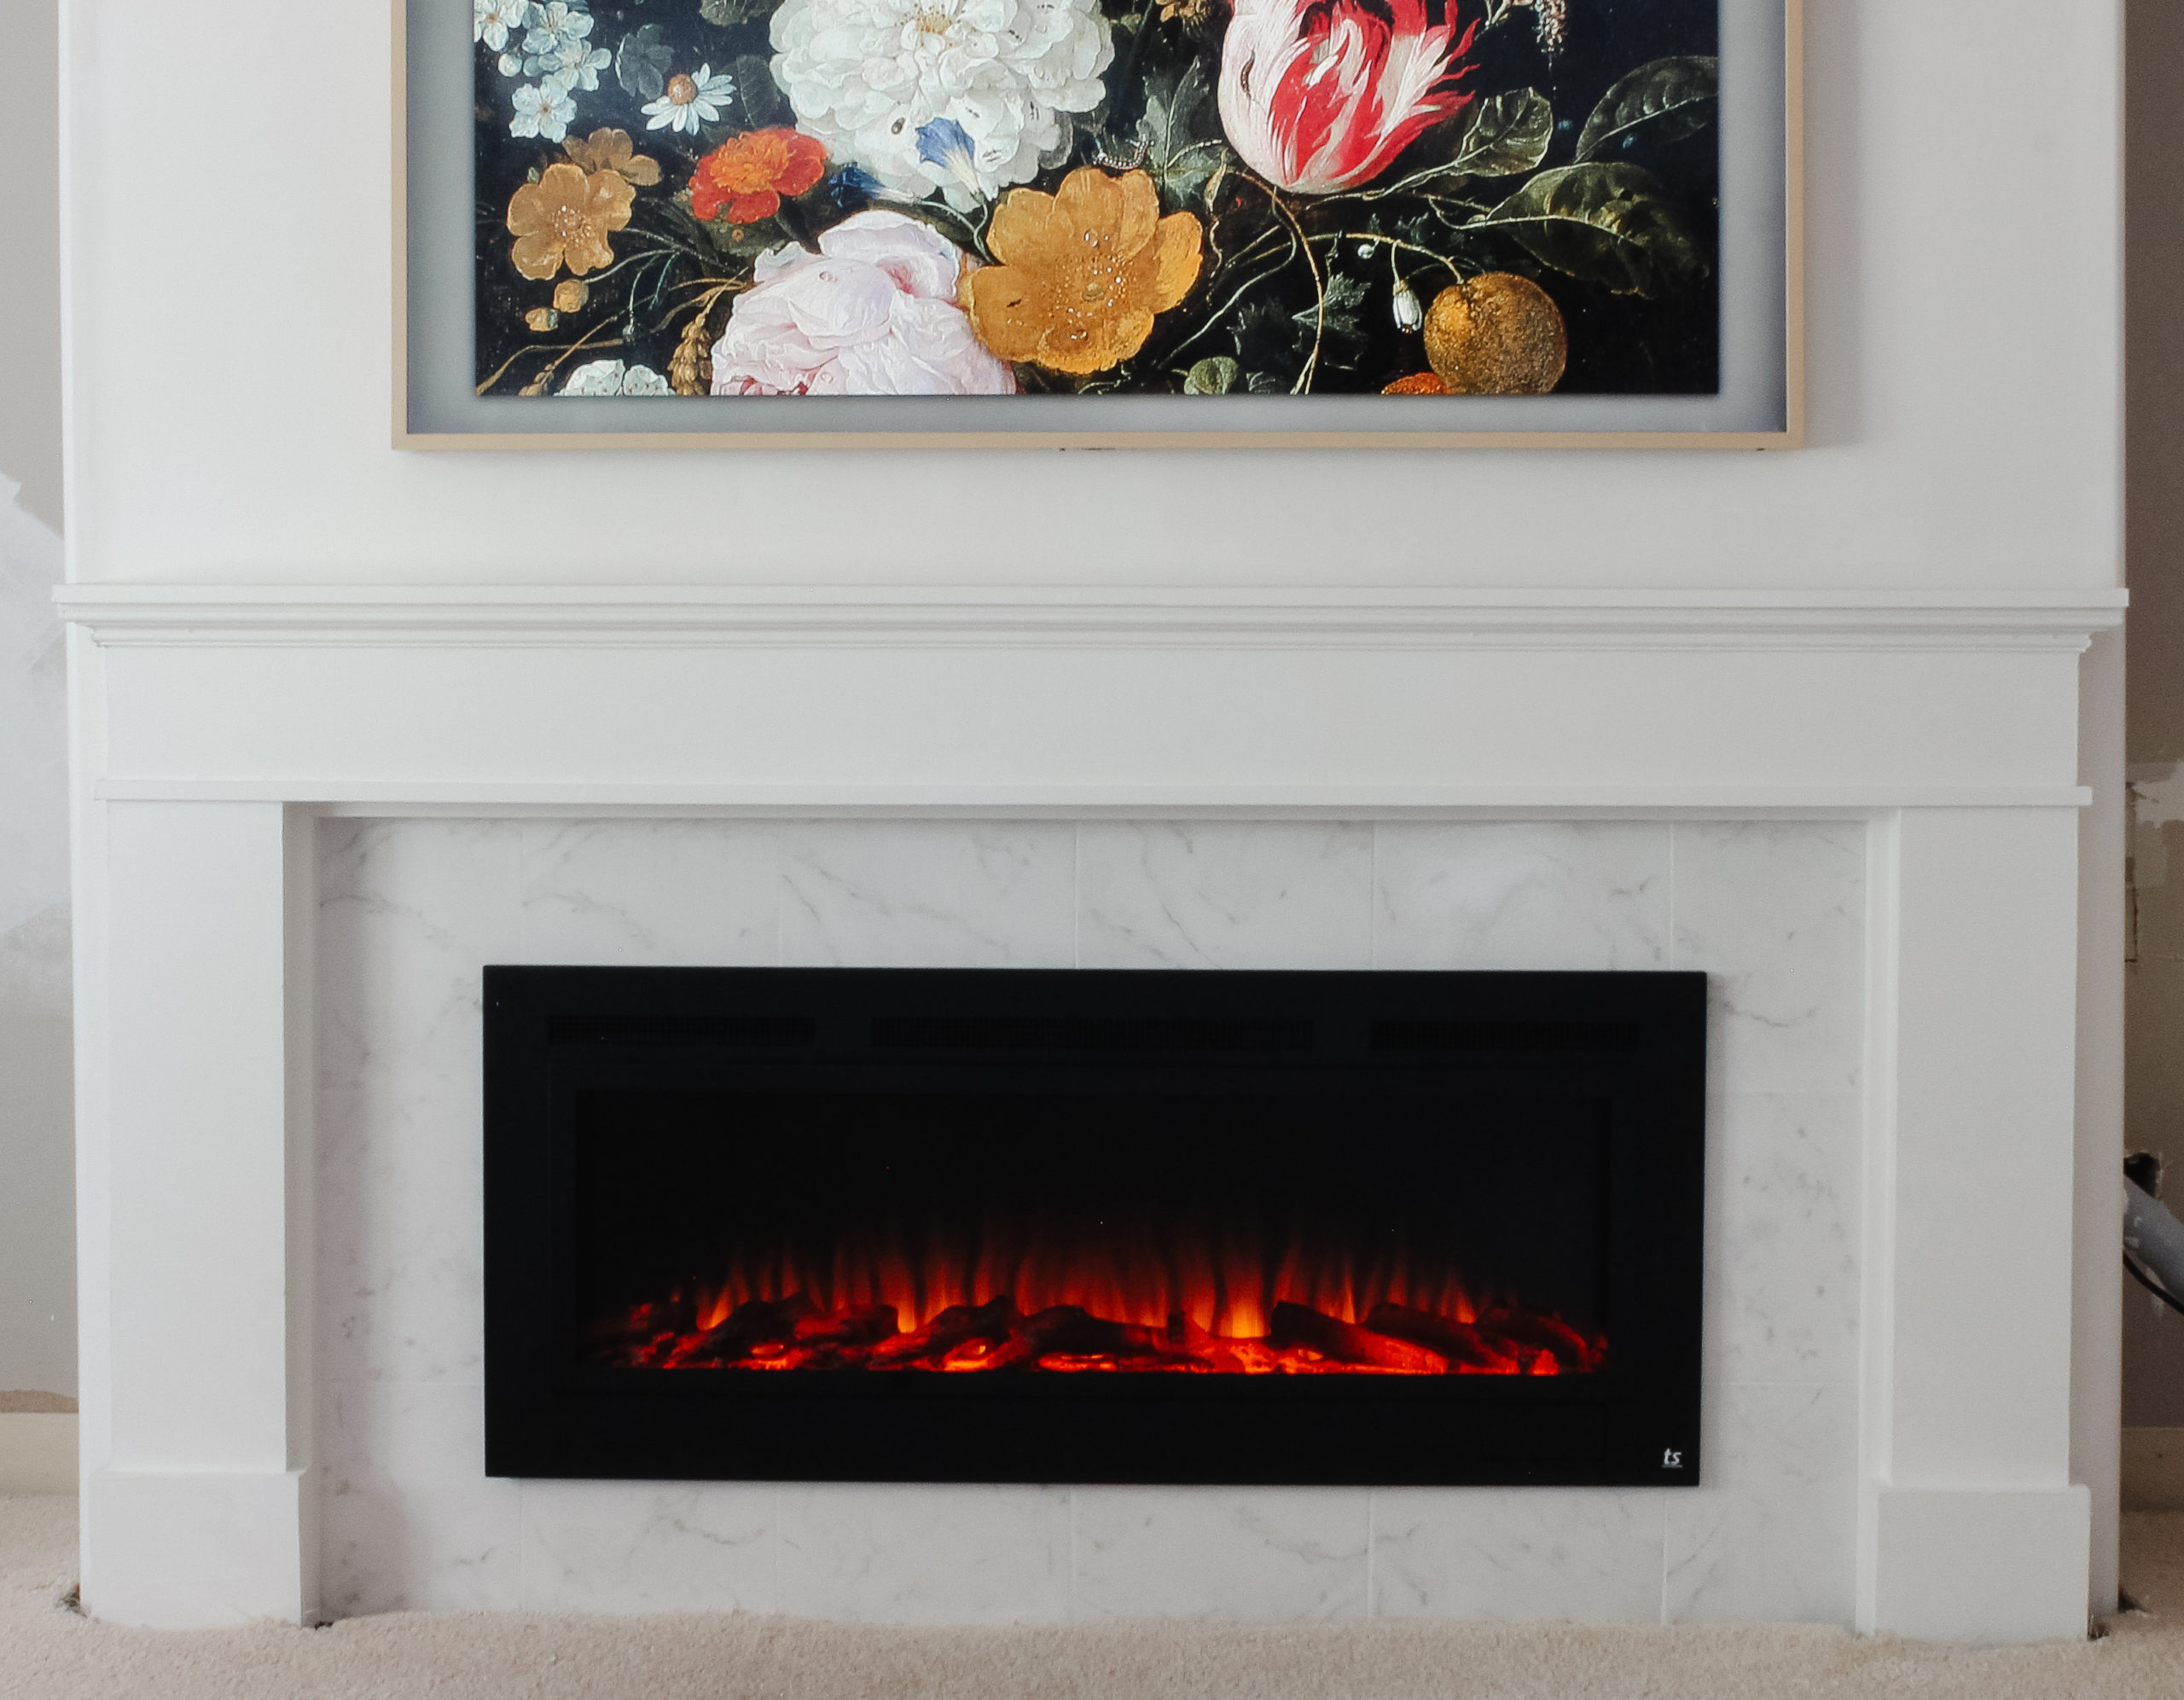
I used this grout (I only needed one small container since there wasn’t much to grout) and this caulk, and what a difference it made! Here it is with the fireplace installed.

It is subtle, but makes a huge difference, especially in person.


I’m so glad I overcame my fear of tiling and tried this out! Tiling the fireplace surround ended up being a lot of fun.
Shop this Post


It looks great Kristen!
Thank you so much, Grandma!
[…] included framing and building out the wall, adding the electric fireplace, building the mantel, tiling around fireplace and adding the frame TV. Phase 3 will be adding the shelves above the cabinets on both […]
What size is that fireplace?