


I’ve slowly been chipping away at framing out the middle section of my living room built-ins over the last few weeks (emphasis on the slowly). But once I got drywall up, and it’s given me new energy to keep going.
As a reminder, here are the original plans of the finished product I’m going for:

In this post, I’ll share a general idea below of how I framed out the middle section of this wall. It should be noted that I am not a framing expert at all. I debated writing this because of how little expertise I have, but thought I’d share my experience. I did a lot of research on how others framed out their fireplace walls before moving forward. But if you are building one and aren’t sure what to do, I’d recommend talking to a professional.
Framing the wall
Based on the plans I drew up, this middle section of my living room built-ins needed to be 7 feet wide. I knew the ends would not land on studs. I drilled four 1×8 boards that were 7 feet wide on the wall to span the width.

From there, I built the side supports. I wanted the wall to be about 18 inches deep to give plenty of space for the cabinets I’d be adding on either side in the next phase of the project.
Once they were built, I screwed them in to each of the 1×8 boards.

Next, I added a 2×4 across the top and bottom of my side supports, spanning the width of the framing. I screwed the top 2×4 into the ceiling joists. I was able to put these in and build the wall in place using pocket hole screws with my Kreg Jig. (Affiliate link)

Now, it was time to build out the framing on the front of the wall. I worked my way from the bottom up. The plans called for my fireplace to sit about 7 inches off the ground, so I added some vertical 2x4s cut to size and then a horizontal one across the top.

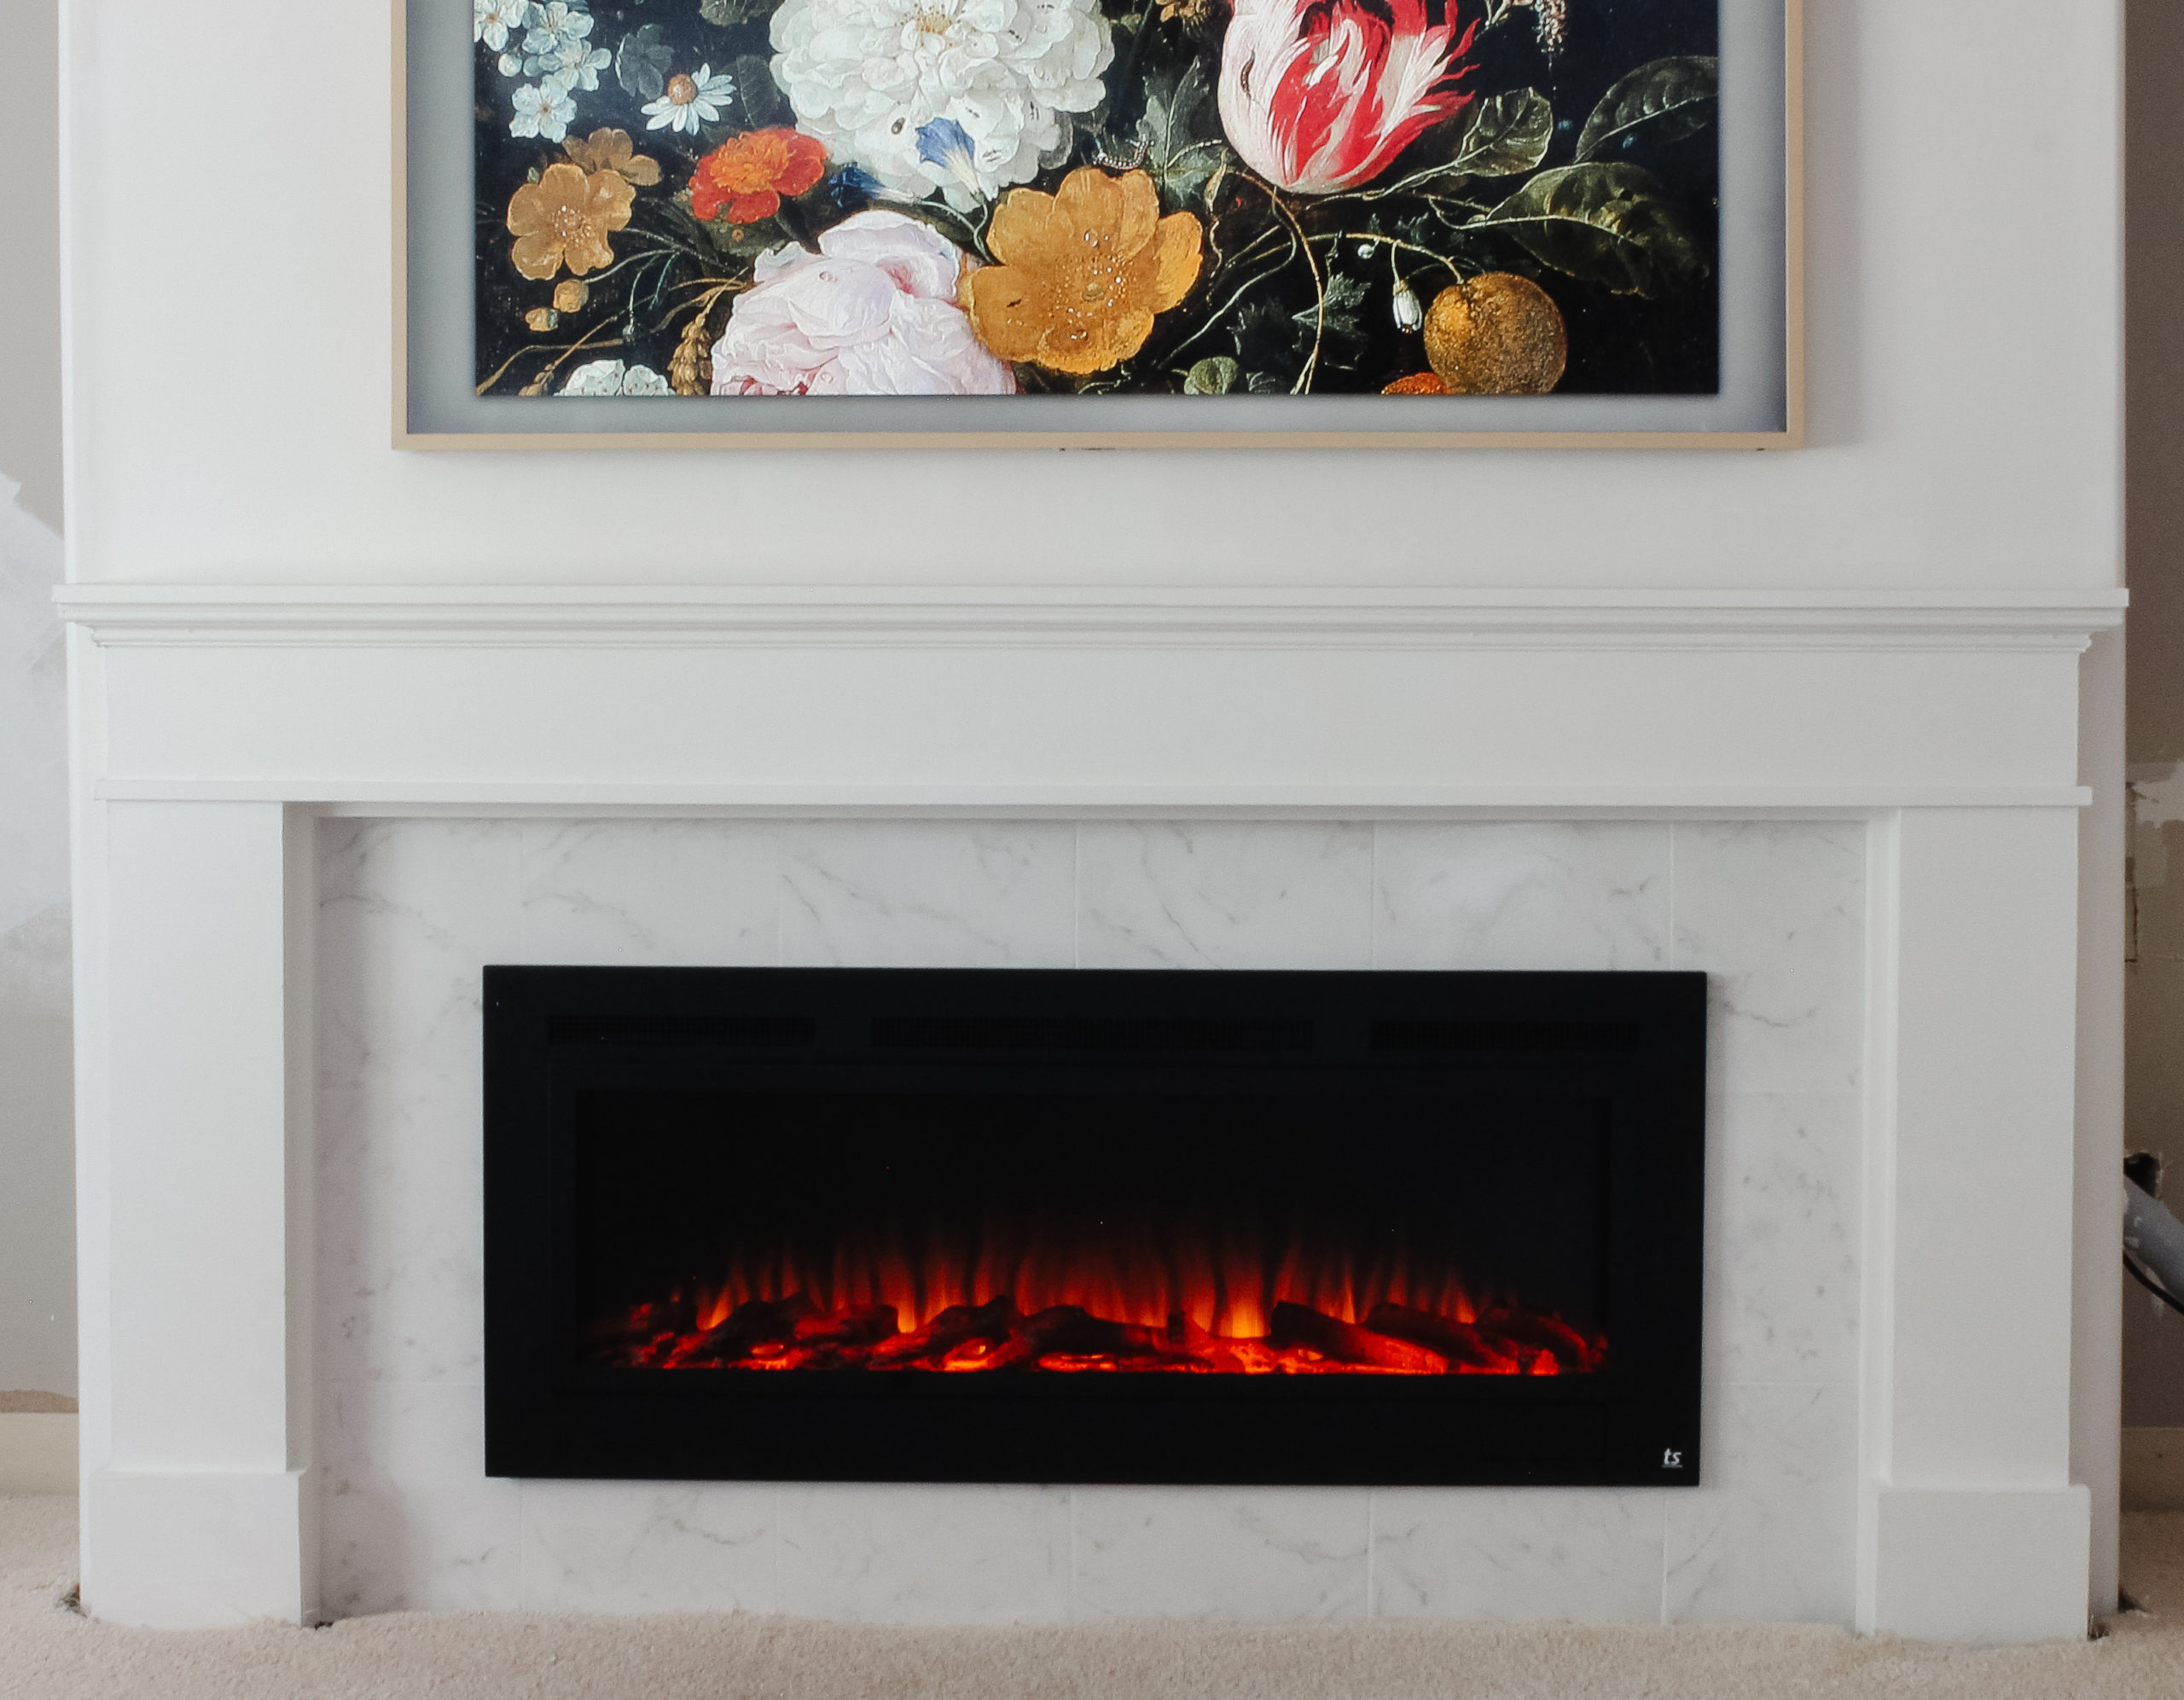
Then I framed out around the fireplace, and had to put the fireplace in to test it out and see it in action! The fireplace is a Touchstone 50 in. matte steel. (affiliate link)

I added the studs vertically across the front from the top of the fireplace into the 2×4 on the ceiling.

This wall needed to be secure. Although it’s not load-bearing, it will be supporting an 86 pound tv, plus the fireplace. I used a combination of just screwing directly into the wood or using pocket hole screws so that I could build it in place as I went. I also used a lot of Simpson Strong ties to support many of my connections.
Hidden Cord Storage
I also snuck in a PVC pipe that will feed into the cabinet in the wall next to the fireplace wall where all the components will go. I’ve read you should not put electrical cords through a wall. But with the Samsung Frame TV I purchased, the only cord that connects to the TV itself is a fiber optic cable. That cable plugs into what they call a ‘One Connect’ that all of the components connect to, and it connects to the outlet. Out of precaution, I used a PVC pipe rated for electrical.
I also added some more supports to the wall. Later, when I went to install the TV, I climbed back in through the hole for the fireplace and added a 2×6 behind the drywall for the TV mount. It was a little claustrophobic, but I’m glad I did it! It’s best to err on the side of overbuilding something like this and making sure it’s secure.

Drywall
Finally, it was time for drywall!

Once the drywall was up, it really seemed to be coming together! I am by no means an expert on finishing drywall, but all I can say that it is a LOT of steps. Each step of the way I kept thinking… surely I’m done now, right?! I followed this tutorial from Lowes.
I was also pretty proud that I did round, or bullnose, corners. The rest of the corners in my house are rounded, so this continues that.

As I type this, my fireplace wall is looking like this:

It is really starting to come along! The middle section of my living room built-ins is (almost) finished. My next post will be a step by step on how I built the mantel, and I’ll follow up with another on how I feel about the Samsung Frame TV. (Affiliate link – I have the 65 in.)


All I can say is Wow!!
[…] Every once in a while, I pinch myself that I have a fireplace. Sure, it’s electric, but as I’ve talked about in this post I’ve always dreamed of having a fireplace. You can read about how I built the mantle wall in this post. […]
[…] Fireplace Wall and Framing […]
[…] 1 was building the middle section which included framing and building out the wall, adding the electric fireplace, building the mantel, tiling around fireplace and adding the frame […]