


Time to check off the box for phase 2 of my built-in project: cabinets!

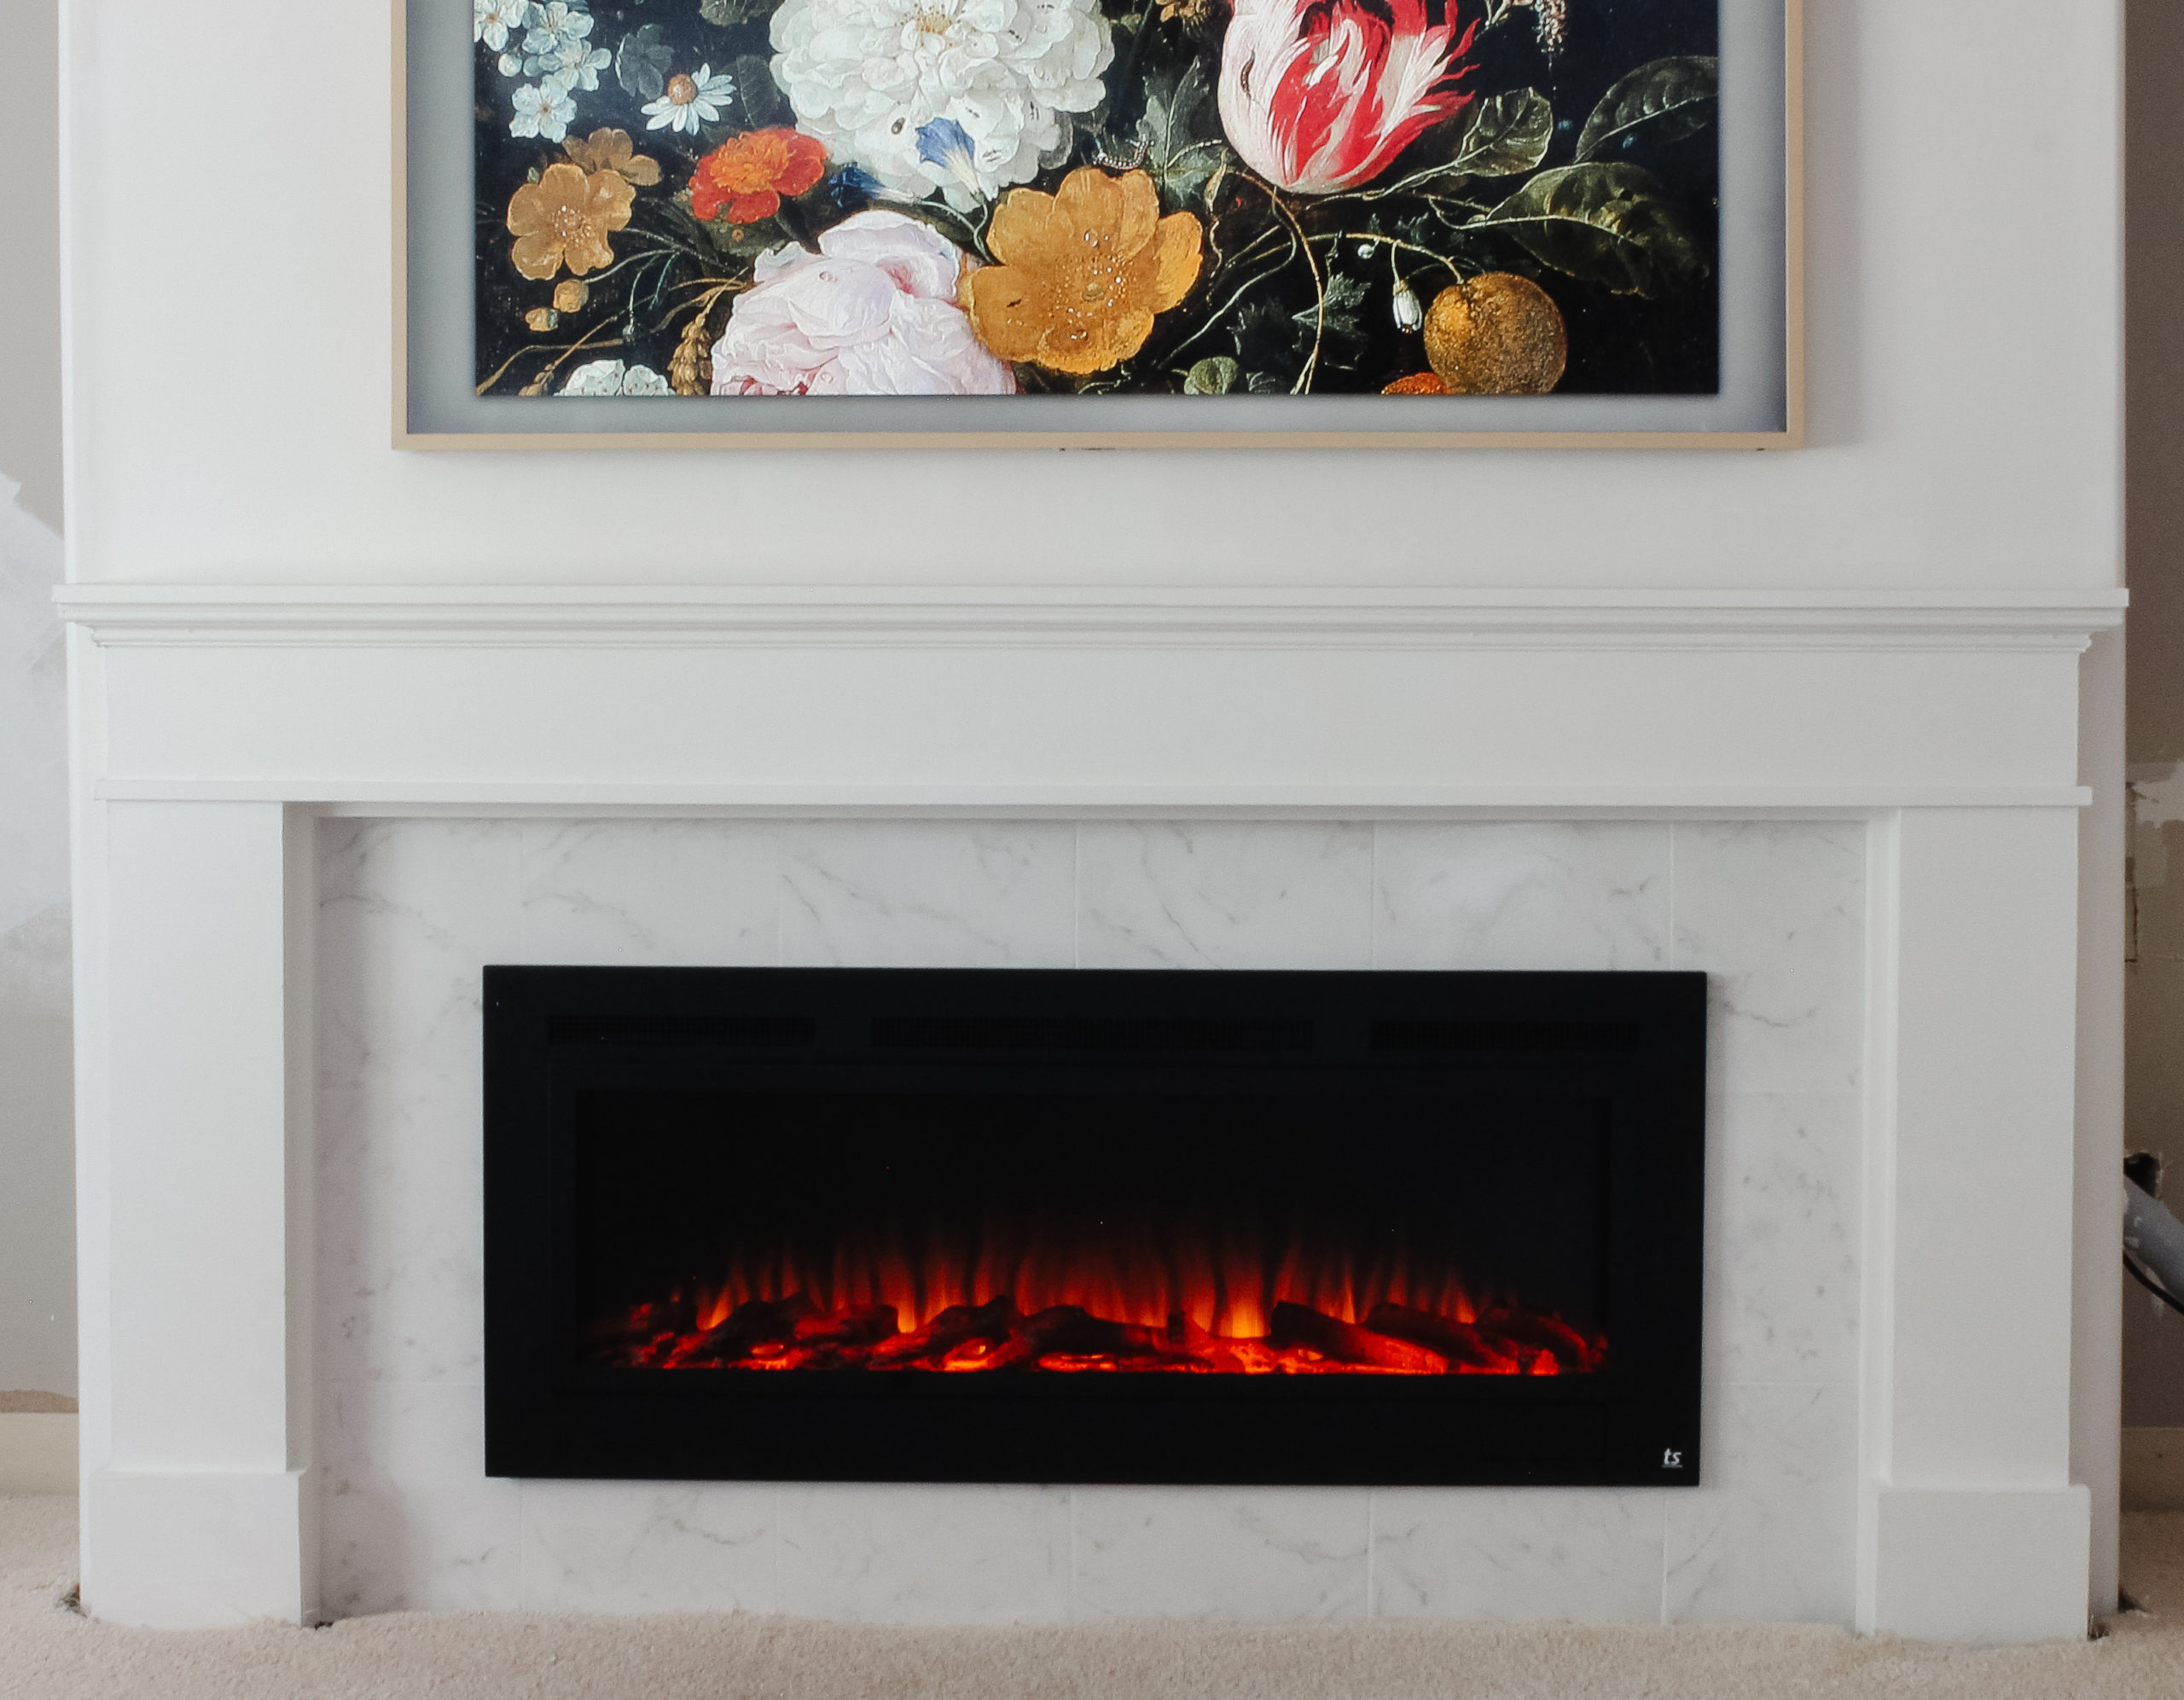
Phase 1 was building the middle section which included framing and building out the wall, adding the electric fireplace, building the mantel, tiling around fireplace and adding the frame TV. Phase 3 will be adding the shelves above the cabinets on both sides.
Here is what this space looked like before I started the project.

This illustration shows the final vision of the project:

Creating the Built-in Cabinets Base
When I started the project, I split the 21 ft wall into three 7 ft sections: the fireplace in the middle and the built-ins on either side.
To start on the cabinets, I ripped the carpet up and began by building a base with 2x4s.

Next, I cut 3×4 in plywood to size and attached it on top of the 2x4s.

I had an electrician add outlets in and above the cabinets and in the process one of the wall got a bit torn up so I added 1/4 plywood over top.
Framing the Built-in Cabinets
After the base was built, it was time to frame out the cabinets. I wanted to do two sets of cabinets on either side, so I framed out each one using 2x4s on either side and in the middle. This will also create a solid base for the upper shelving.


I cut 3/4 in plywood to size and attached it to each of the frames.


Next, I added 3/4 in plywood trimmed to size to the front of the frames and supports as well as a 1×2 across the top and trim on the bottom. For the top of the cabinets, I cut more 3/4 in plywood to size and added a trim piece to the front.

Building the Cabinet Doors
Now it was time to build the doors! I decided to keep it simple and go with a shaker-style door. I decided to go with a 1/2 in overlay hinge which meant that my door would overlay the frame instead of being inset with the frame.
I started by creating the frame for the doors out of 1x4s. I mitered the corners since they would be visible on the front of the cabinets and connected with pocket hole screws.

I cut the space for the hinge to be installed with my Kreg concealed hinge jig.

The jig helps you to get a perfect cut-out section in the wood in the exact spot the hinge should be located.

I added my hinges next. I went with these soft-close hinges.
I used 1/4 in plywood attached to the back of the doors with glue and nails to finish building them.
After that, I did a test install of all the doors to make sure they would fit correctly before painting. Luckily, they all did! There were a few that were a little wonky that I was able to even out eventually with sanding and wood filler.

Cabinet Project Homestretch
Next, it was time to sand, prime, paint and caulk everything. This took quite a bit of time. I went with Sherwin Williams Alabaster to match the rest of the room.
I started by painting the frames.

Then I prepped shelving for each space. The shelves are 3×4 in. plywood. I ironed edge banding to the front so that the unfinished edge of the plywood would not show through.

Once I had the shelves installed, it was time to finish up the doors.

The doors required a lot of wood filler and sanding to get prepped for paint, so this part took some time with eight doors.

Once the doors were painted, I used yet another Kreg jig, the cabinet hardware jig, to accurately measure and drill holes for the hardware and install them back to the cabinet frames.

The Completed Cabinets
I think the cabinets turned out great! They aren’t completely perfect, but I built them from scratch and I’m very proud.


Living Room Sources
Shop the living room:

Built-in Cabinet Tools
Shop the tools I used for this project:


How did you install the inside shelves?